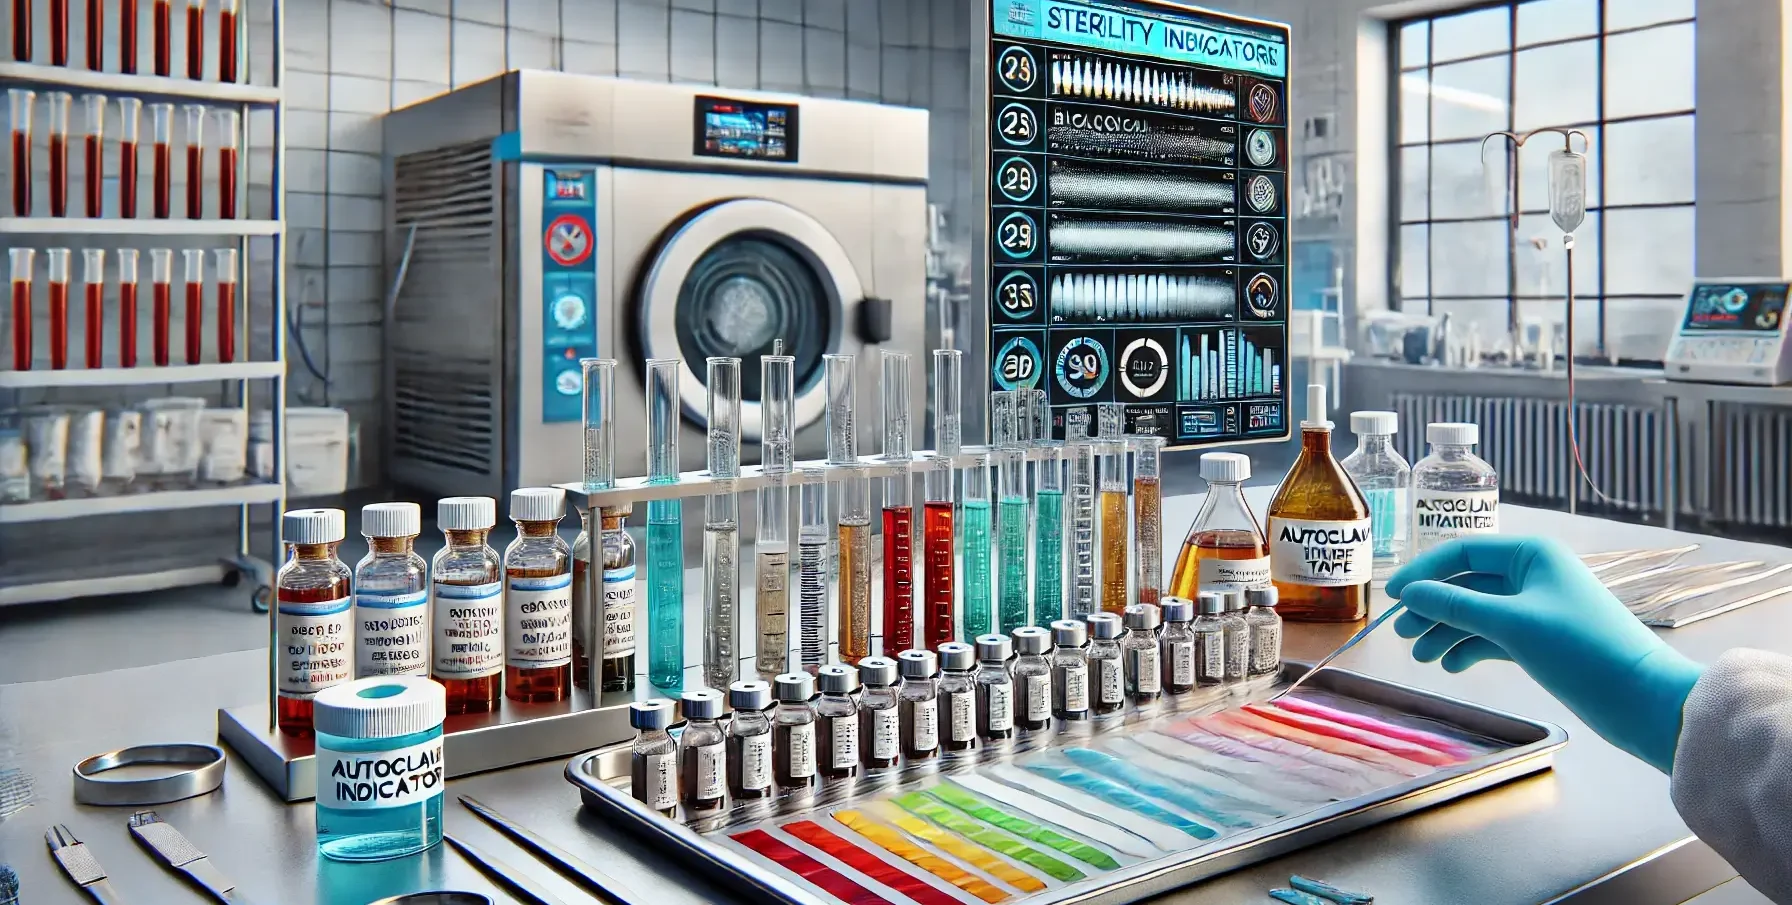
- Sterility indicators are crucial tools used to verify the effectiveness of sterilization processes.
- These indicators ensure that sterilization has been achieved and provide assurance that items are free from viable microorganisms.
- There are several types of sterility indicators, each with specific applications and mechanisms.
- The main types include biological indicators, chemical indicators, and physical indicators.
1. Biological Indicators (BIs) as Sterility Indicators
Principle:
- Biological indicators contain highly resistant microorganisms, typically bacterial spores, which serve as a benchmark to test the sterilization process’s efficacy.
- If the sterilization process kills these resistant spores, it is assumed to be effective against all other microorganisms.
This is a sample ad placement!
Procedure:
- Placement: Place the biological indicator within the sterilization load, in the most challenging location for the sterilant to reach.
- Sterilization: Run the sterilization cycle.
- Incubation: After sterilization, incubate the indicator under conditions favorable for growth.
- Observation: Check for any signs of growth (e.g., turbidity, color change).
- No Growth: Indicates successful sterilization.
- Growth: Indicates a failure in the sterilization process.
Examples:
- Geobacillus stearothermophilus: Used for steam sterilization and hydrogen peroxide gas plasma.
- Bacillus atrophaeus: Used for dry heat and ethylene oxide sterilization.
This is a sample ad placement!
2. Chemical Indicators (CIs) as Sterility Indicators
Principle:
- Chemical indicators contain substances that change color or form when exposed to certain sterilization conditions.
- They provide a visual confirmation that the sterilization process has reached specific parameters (e.g., time, temperature, presence of sterilizing agent).
Types:
- Class 1 (Process Indicators): Indicate that the item has been exposed to the sterilization process (e.g., autoclave tape).
- Class 2 (Specific Test Indicators): Used for specific tests, such as Bowie-Dick test packs for steam penetration.
- Class 3 (Single Parameter Indicators): React to one critical parameter (e.g., temperature).
- Class 4 (Multi-Parameter Indicators): React to two or more critical parameters (e.g., time and temperature).
- Class 5 (Integrating Indicators): Designed to react to all critical parameters of a specific sterilization process.
- Class 6 (Emulating Indicators): Precisely mimic the performance of a specified sterilization process cycle.
This is a sample ad placement!
Procedure:
- Placement: Place the chemical indicator inside or outside the sterilization pack or load.
- Sterilization: Run the sterilization cycle.
- Observation: Check the indicator for color change or other specified reactions.
3. Physical Indicators as Sterility Indicators
Principle:
- Physical indicators involve the monitoring and recording of the physical parameters of the sterilization process, such as time, temperature, and pressure.
Types:
- Thermometers and Thermocouples: Measure temperature.
- Pressure Gauges: Measure pressure.
- Data Loggers: Record multiple parameters over time.
This is a sample ad placement!
Procedure:
- Setup: Install physical indicators on the sterilization equipment.
- Monitoring: Continuously monitor and record data during the sterilization cycle.
- Verification: Check recorded data against the sterilization cycle’s required parameters to ensure they were met.
Thank you for reading from Firsthope's notes, don't forget to check YouTube videos!

